GitHub Enterprise Cloud EMU Initial Setup | Microsoft Entra ID (SAML) Configuration
This is part of a series of posts where I share my personal notes on setting up a new GitHub Enterprise Cloud (GHEC) environment, specifically for Enterprise Managed Users (EMU).
There can be a debate when choosing between SAML and OIDC. However, the main practical reason for using Microsoft Entra ID (OIDC) with GitHub is that it supports Conditional Access Policies (CAP). This is useful if you’re using the full features of GitHub Enterprise and have strict access requirements. I wrote more about this topic here.
Here are some reasons on why you might choose SAML over OIDC:
- If you are not using Microsoft Entra ID, as GitHub only supports Entra ID for OIDC.
- If you already have an existing GHEC integrated via OIDC, as each Entra ID tenant can only be associated with a single GHEC via OIDC.
- If you are using Copilot Business without GitHub Enterprise, the benefits of OIDC are minimal.
If you prefer to configure OIDC instead, go to Microsoft Entra ID (OIDC) Configuration.
In this post, I am documenting my experience in configuring a GHEC EMU account with Microsoft Entra ID (SAML).
Objective and Disclaimer: This post is written for my future personal reference. I took screenshots as I configured a new GHEC EMU account while following the documentation from GitHub. There will surely be scenarios which are not covered in these posts. Please refer to the following official GitHub documentation for the most accurate and up-to-date information:
Pre-Requisites
Before starting, the following user accounts are required:
- The GHEC root admin account credentials (i.e.
{enterprise-short-code}_admin, e.g.rt_admin) - An account with a Microsoft Entra ID Cloud Application Administrator role, on the tenant of the users and groups
Step-by-Step Guide
Step 1: Generate a Personal Access Token (PAT) for the GHE Admin
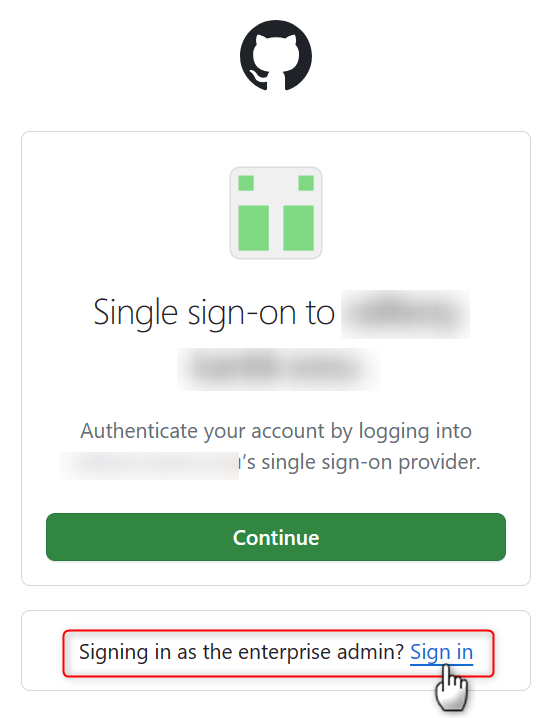
- Open a new browser in private/incognito mode and go to
https://github.com/enterprises/{enterprise_slug} - In the log-in screen, Sign in as the enterprise admin
- Log in with your
{enterprise_shortcode}_adminusername and password (not recovery key) - Click your Profile Icon on the top right → Settings → Developer Settings → Personal access tokens → Tokens (classic) → Generate new token (classic)
- Enter any valid name, Select scope =
admin:enterprise
- Click Generate token
- Copy the PAT to a temporary text file.
- KEEP THIS WINDOW OPEN as you will still need it later.
Step 2: Create a MS Entra ID Enterprise Application
- Open a new browser and go to Azure portal. Log in using the Cloud Application Administrator account.
- Go to Microsoft Entra ID → Enterprise Applications
- Click New application
- Search for GitHub Enterprise Managed User
- Select, change the name as needed, and then Save
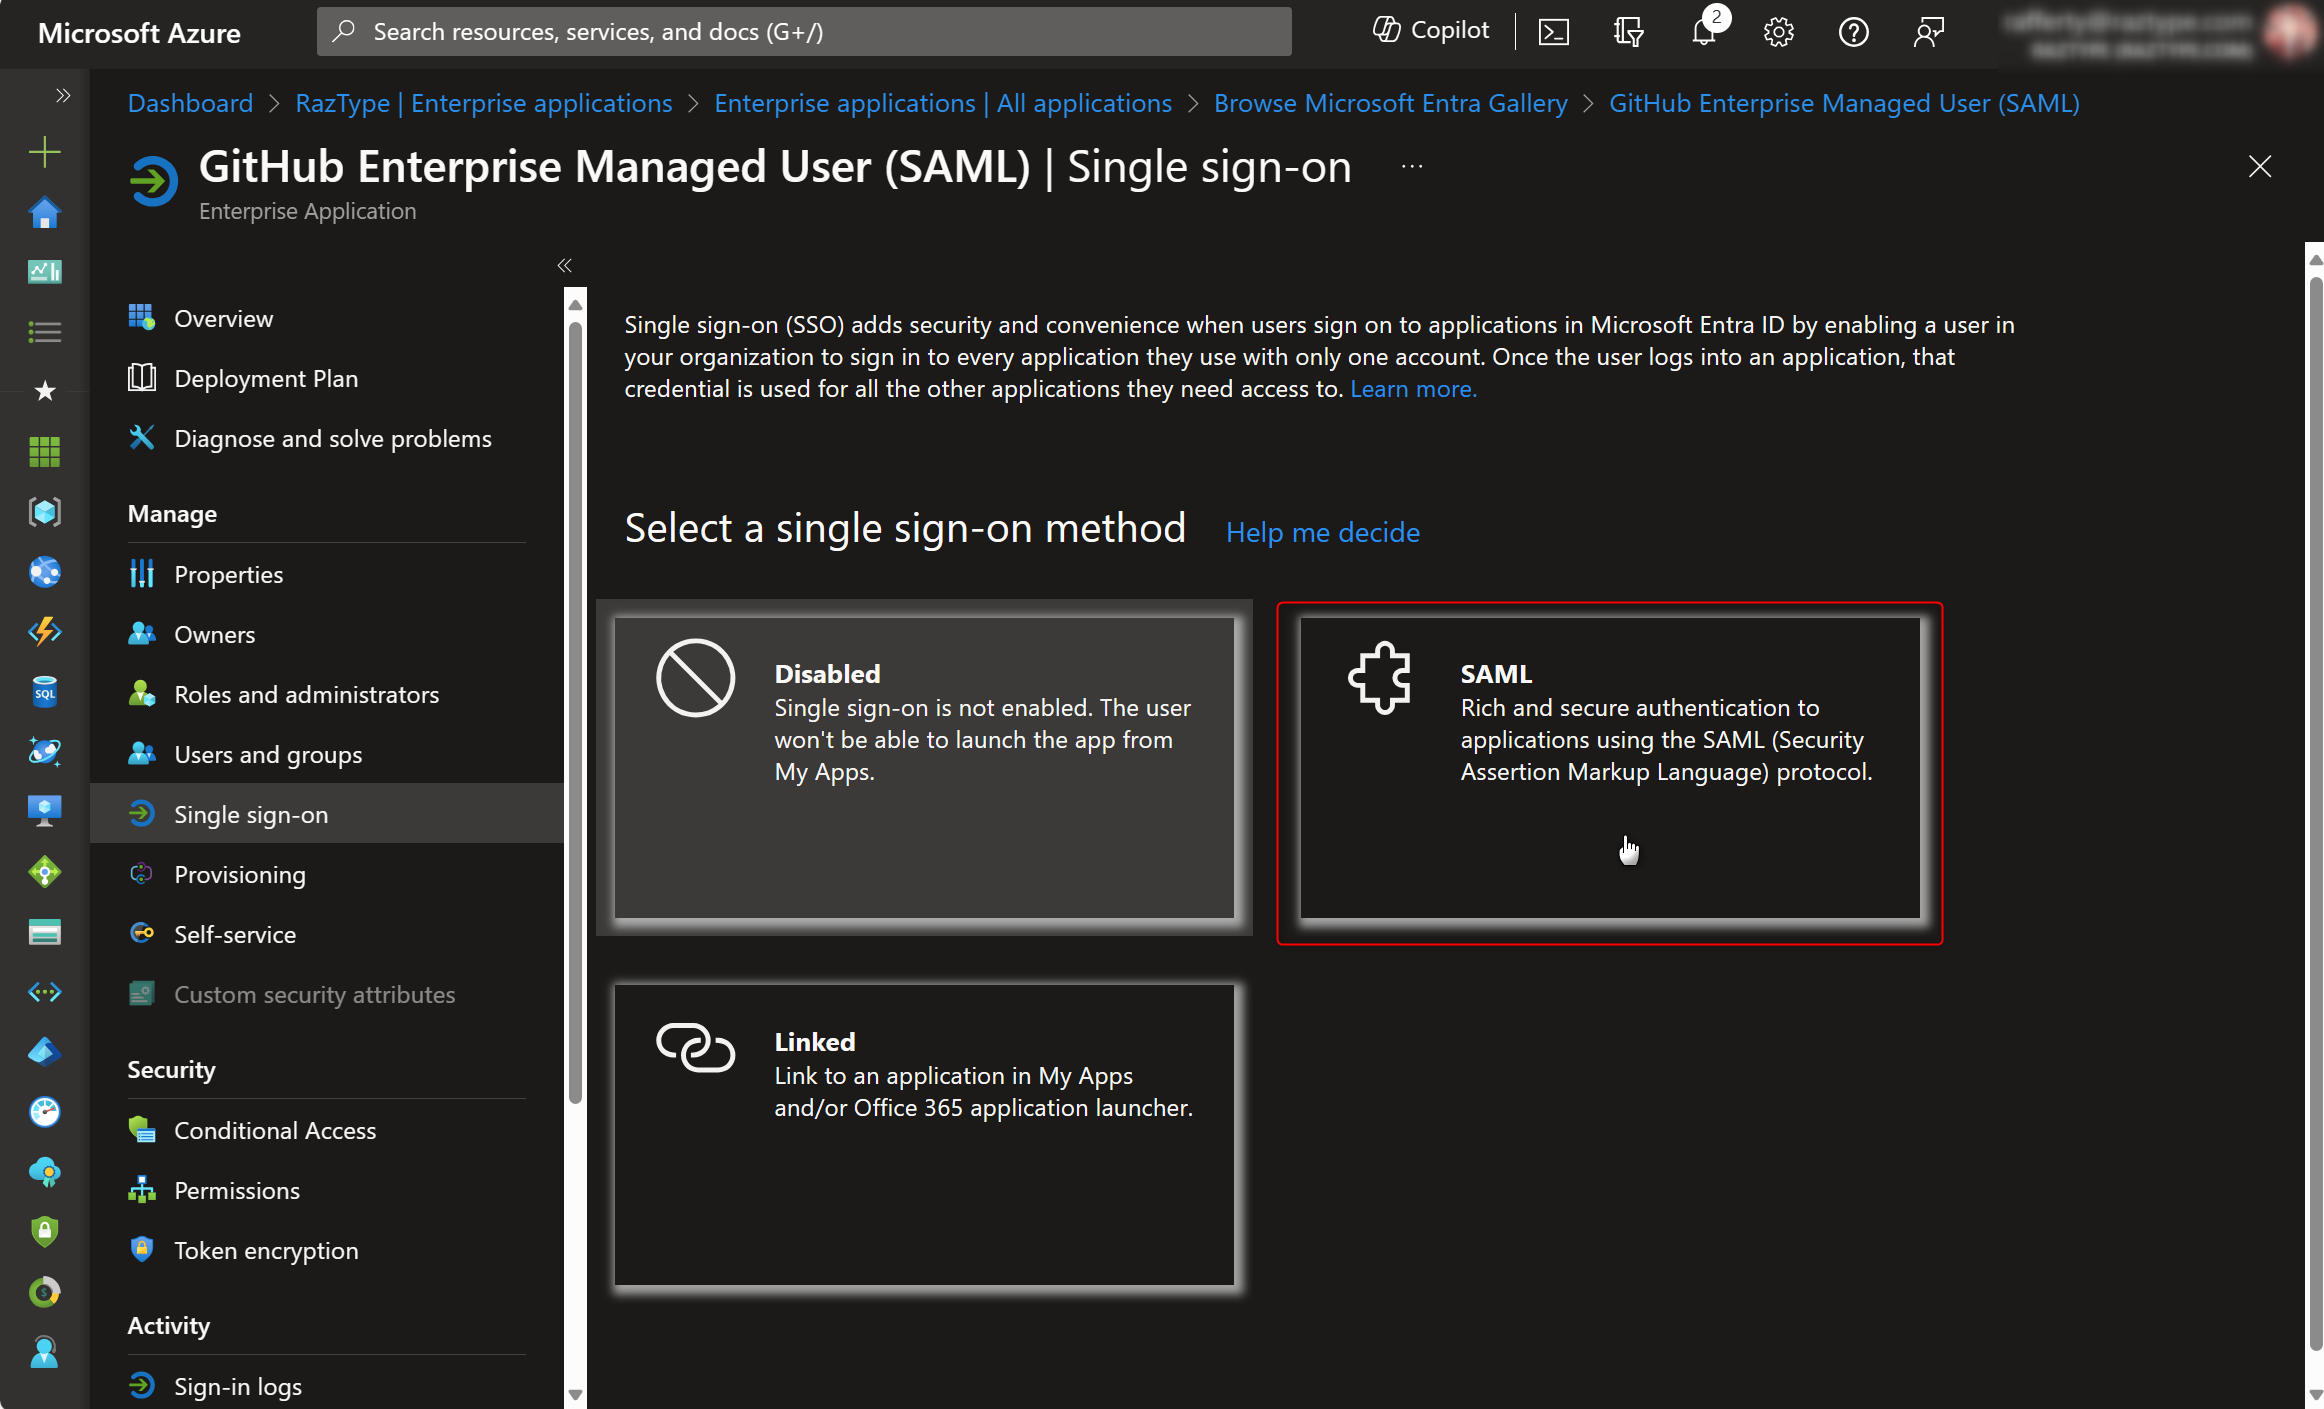
- In the newly created enterprise application, select Single sign-on → SAML
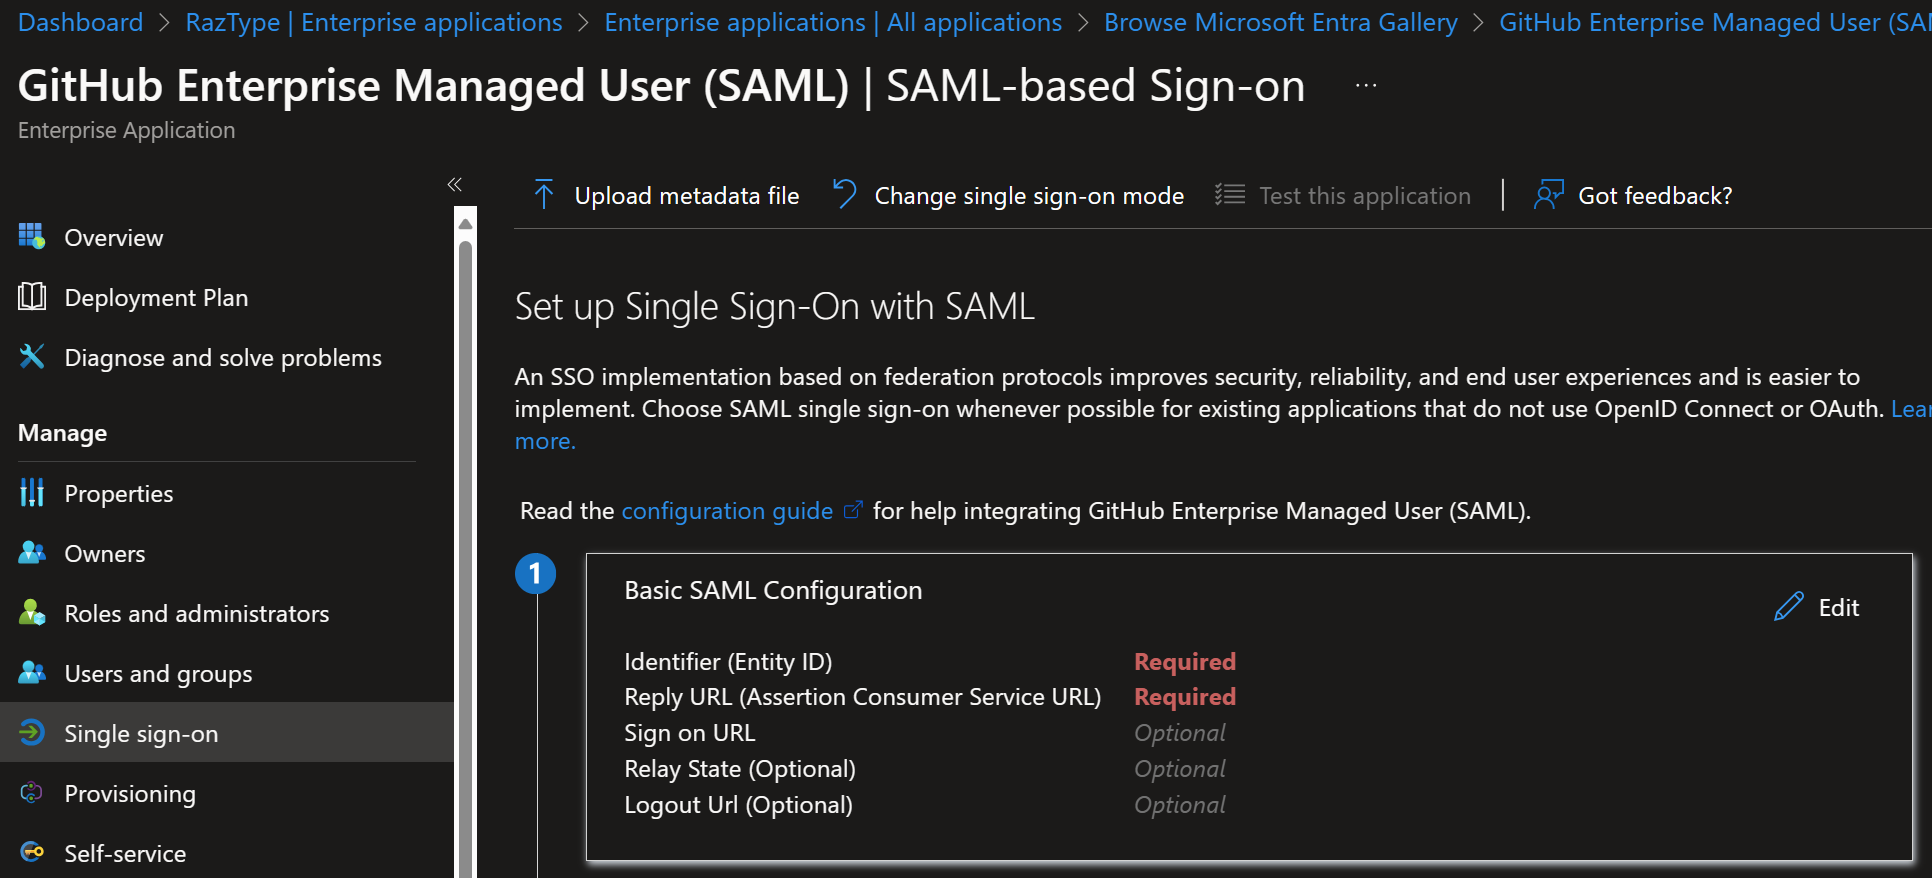
- Edit the Basic SAML Configuration
- Set the following values:
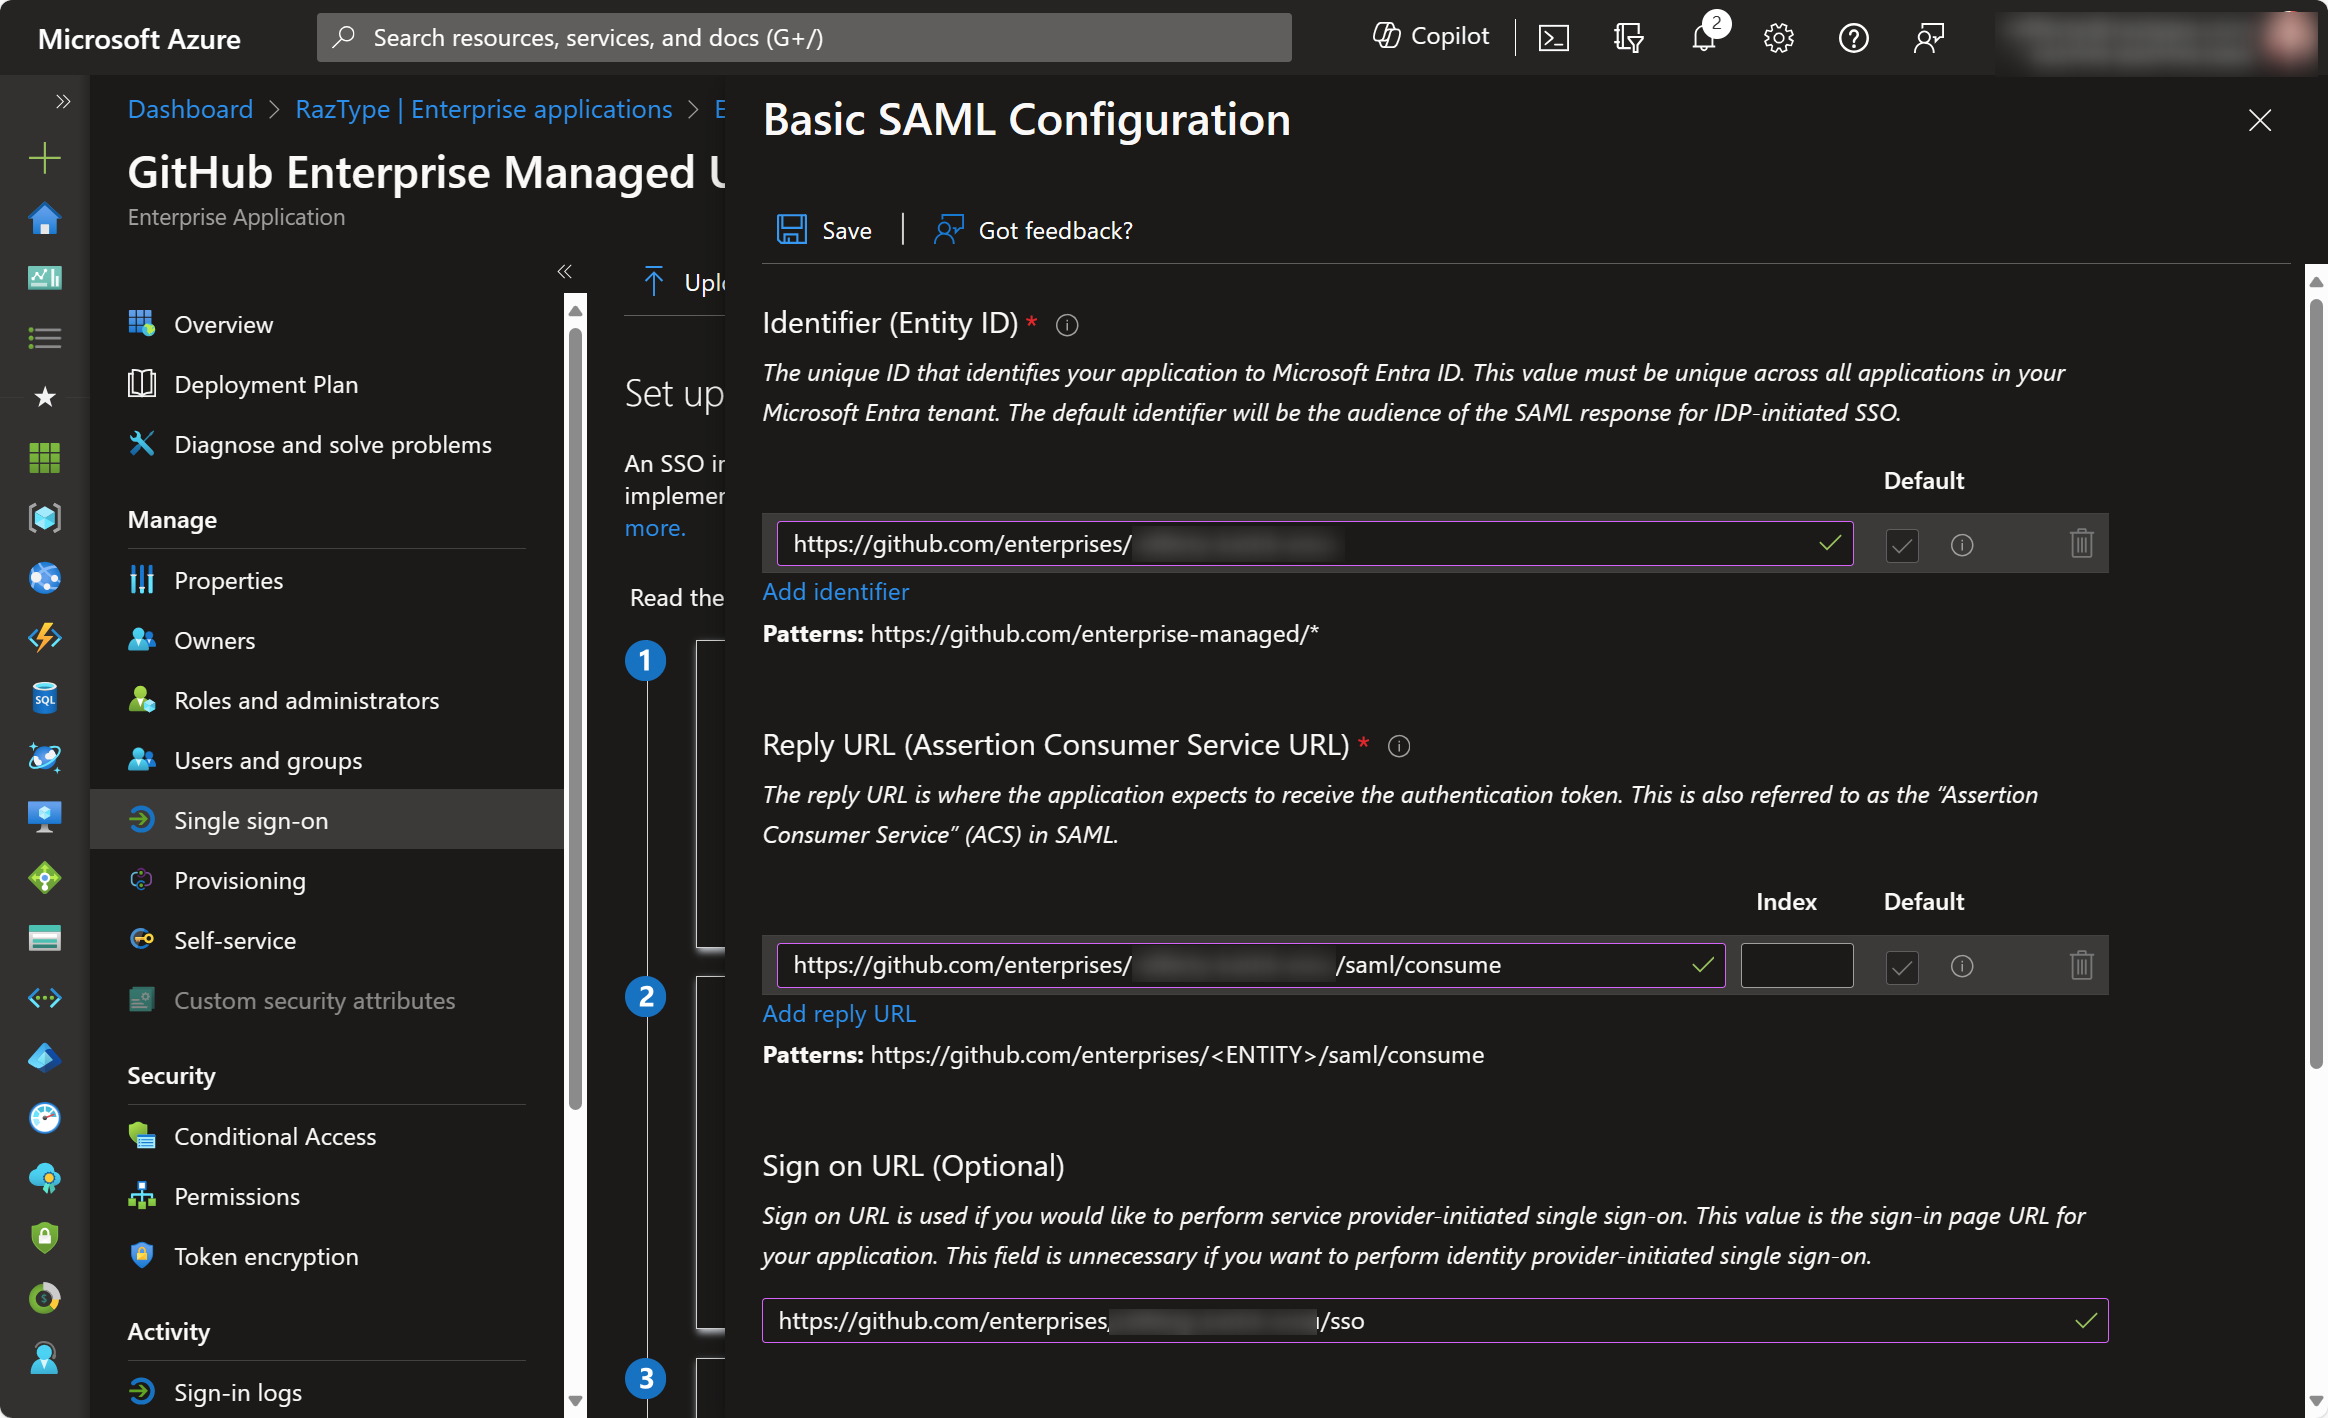
- Identifier:
https://github.com/enterprises/{enterprise_slug} - Reply URL:
https://github.com/enterprises/{enterprise_slug}/saml/consume - Sign-on URL:
https://github.com/enterprises/{enterprise_slug}/sso
- Identifier:
- Click Save
- Scroll down and look for SAML Certificates, click Edit
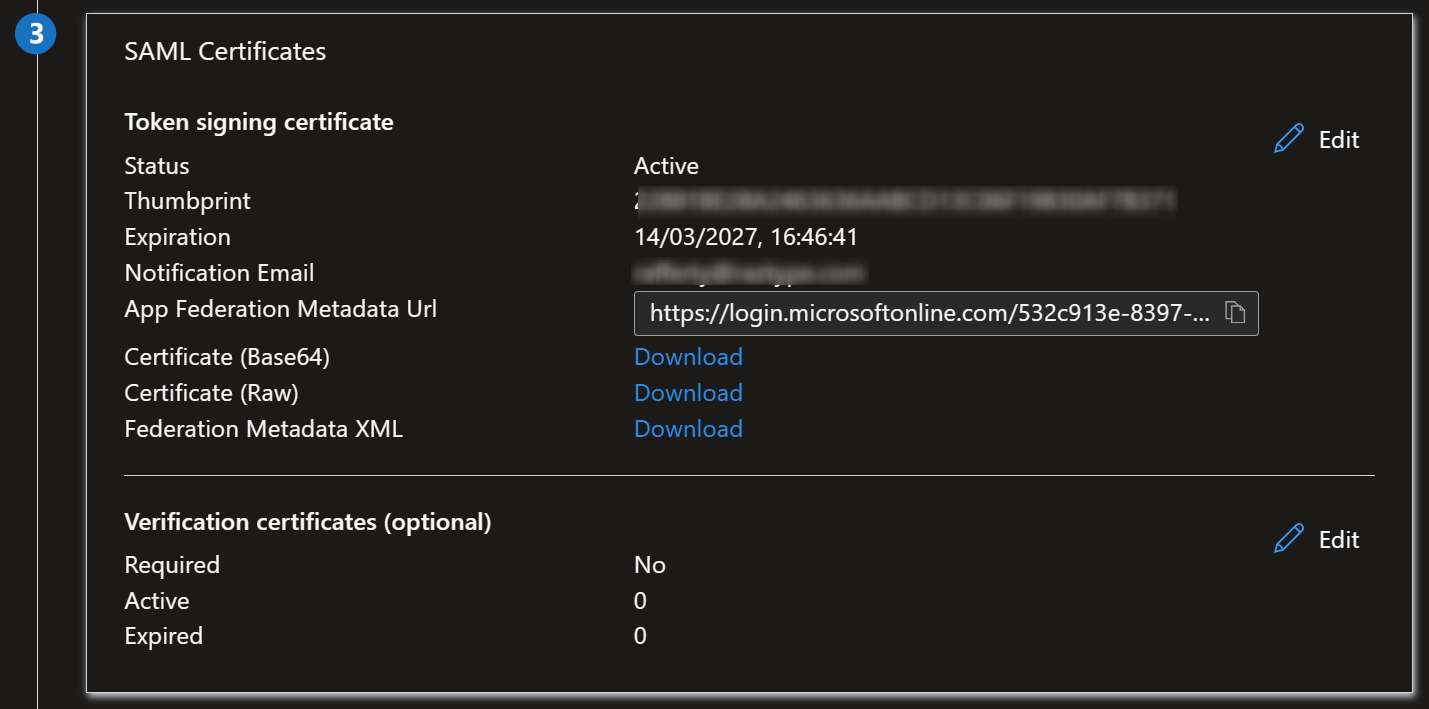
- Click
...→ PEM certificate download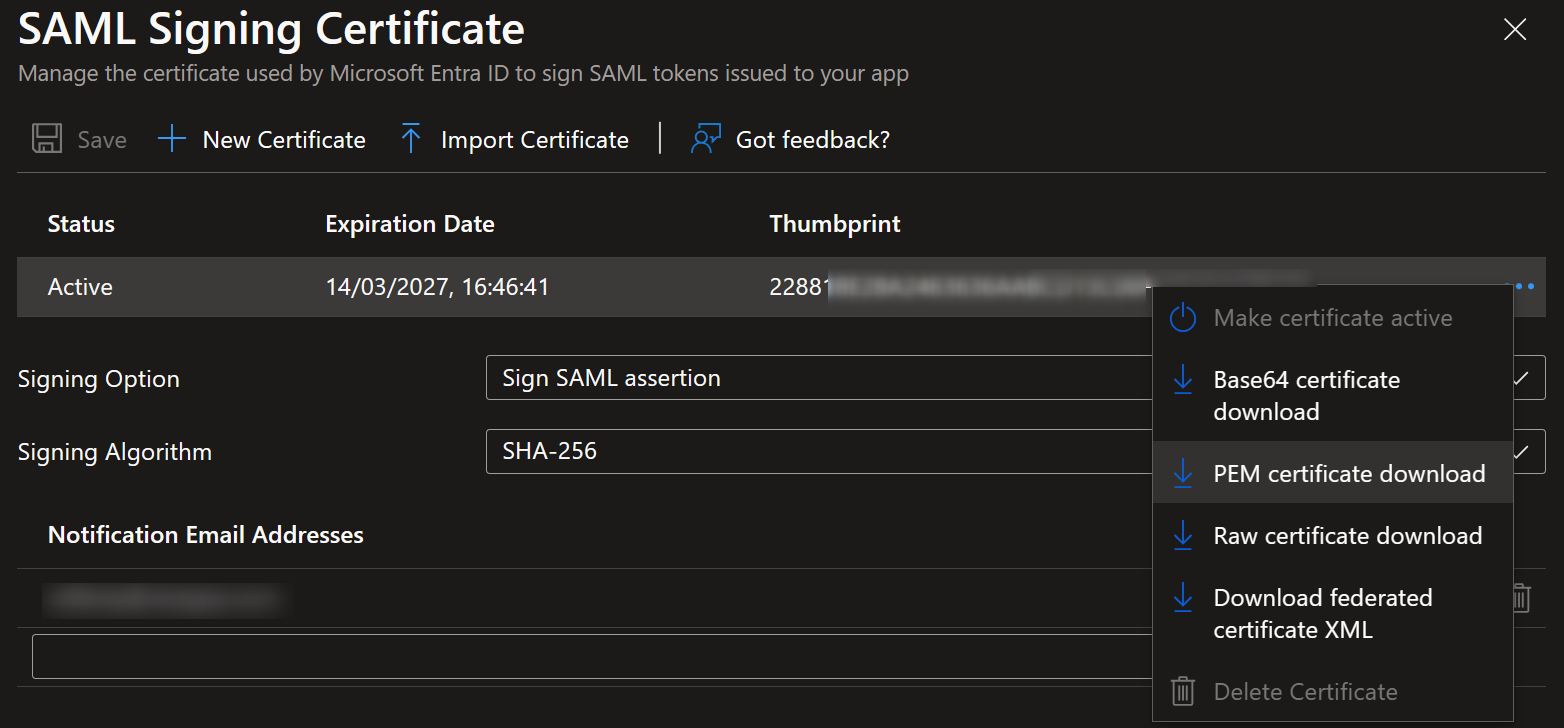
- Scroll down and look for Set up GitHub Enterprise Managed User (SAML)
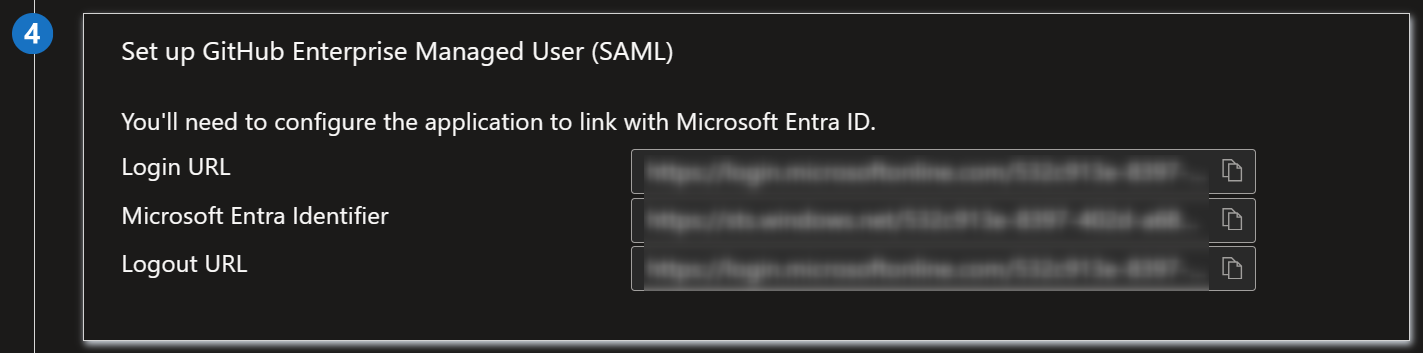
- Copy the values for “Login URL” and “Microsoft Entra Identifier”.
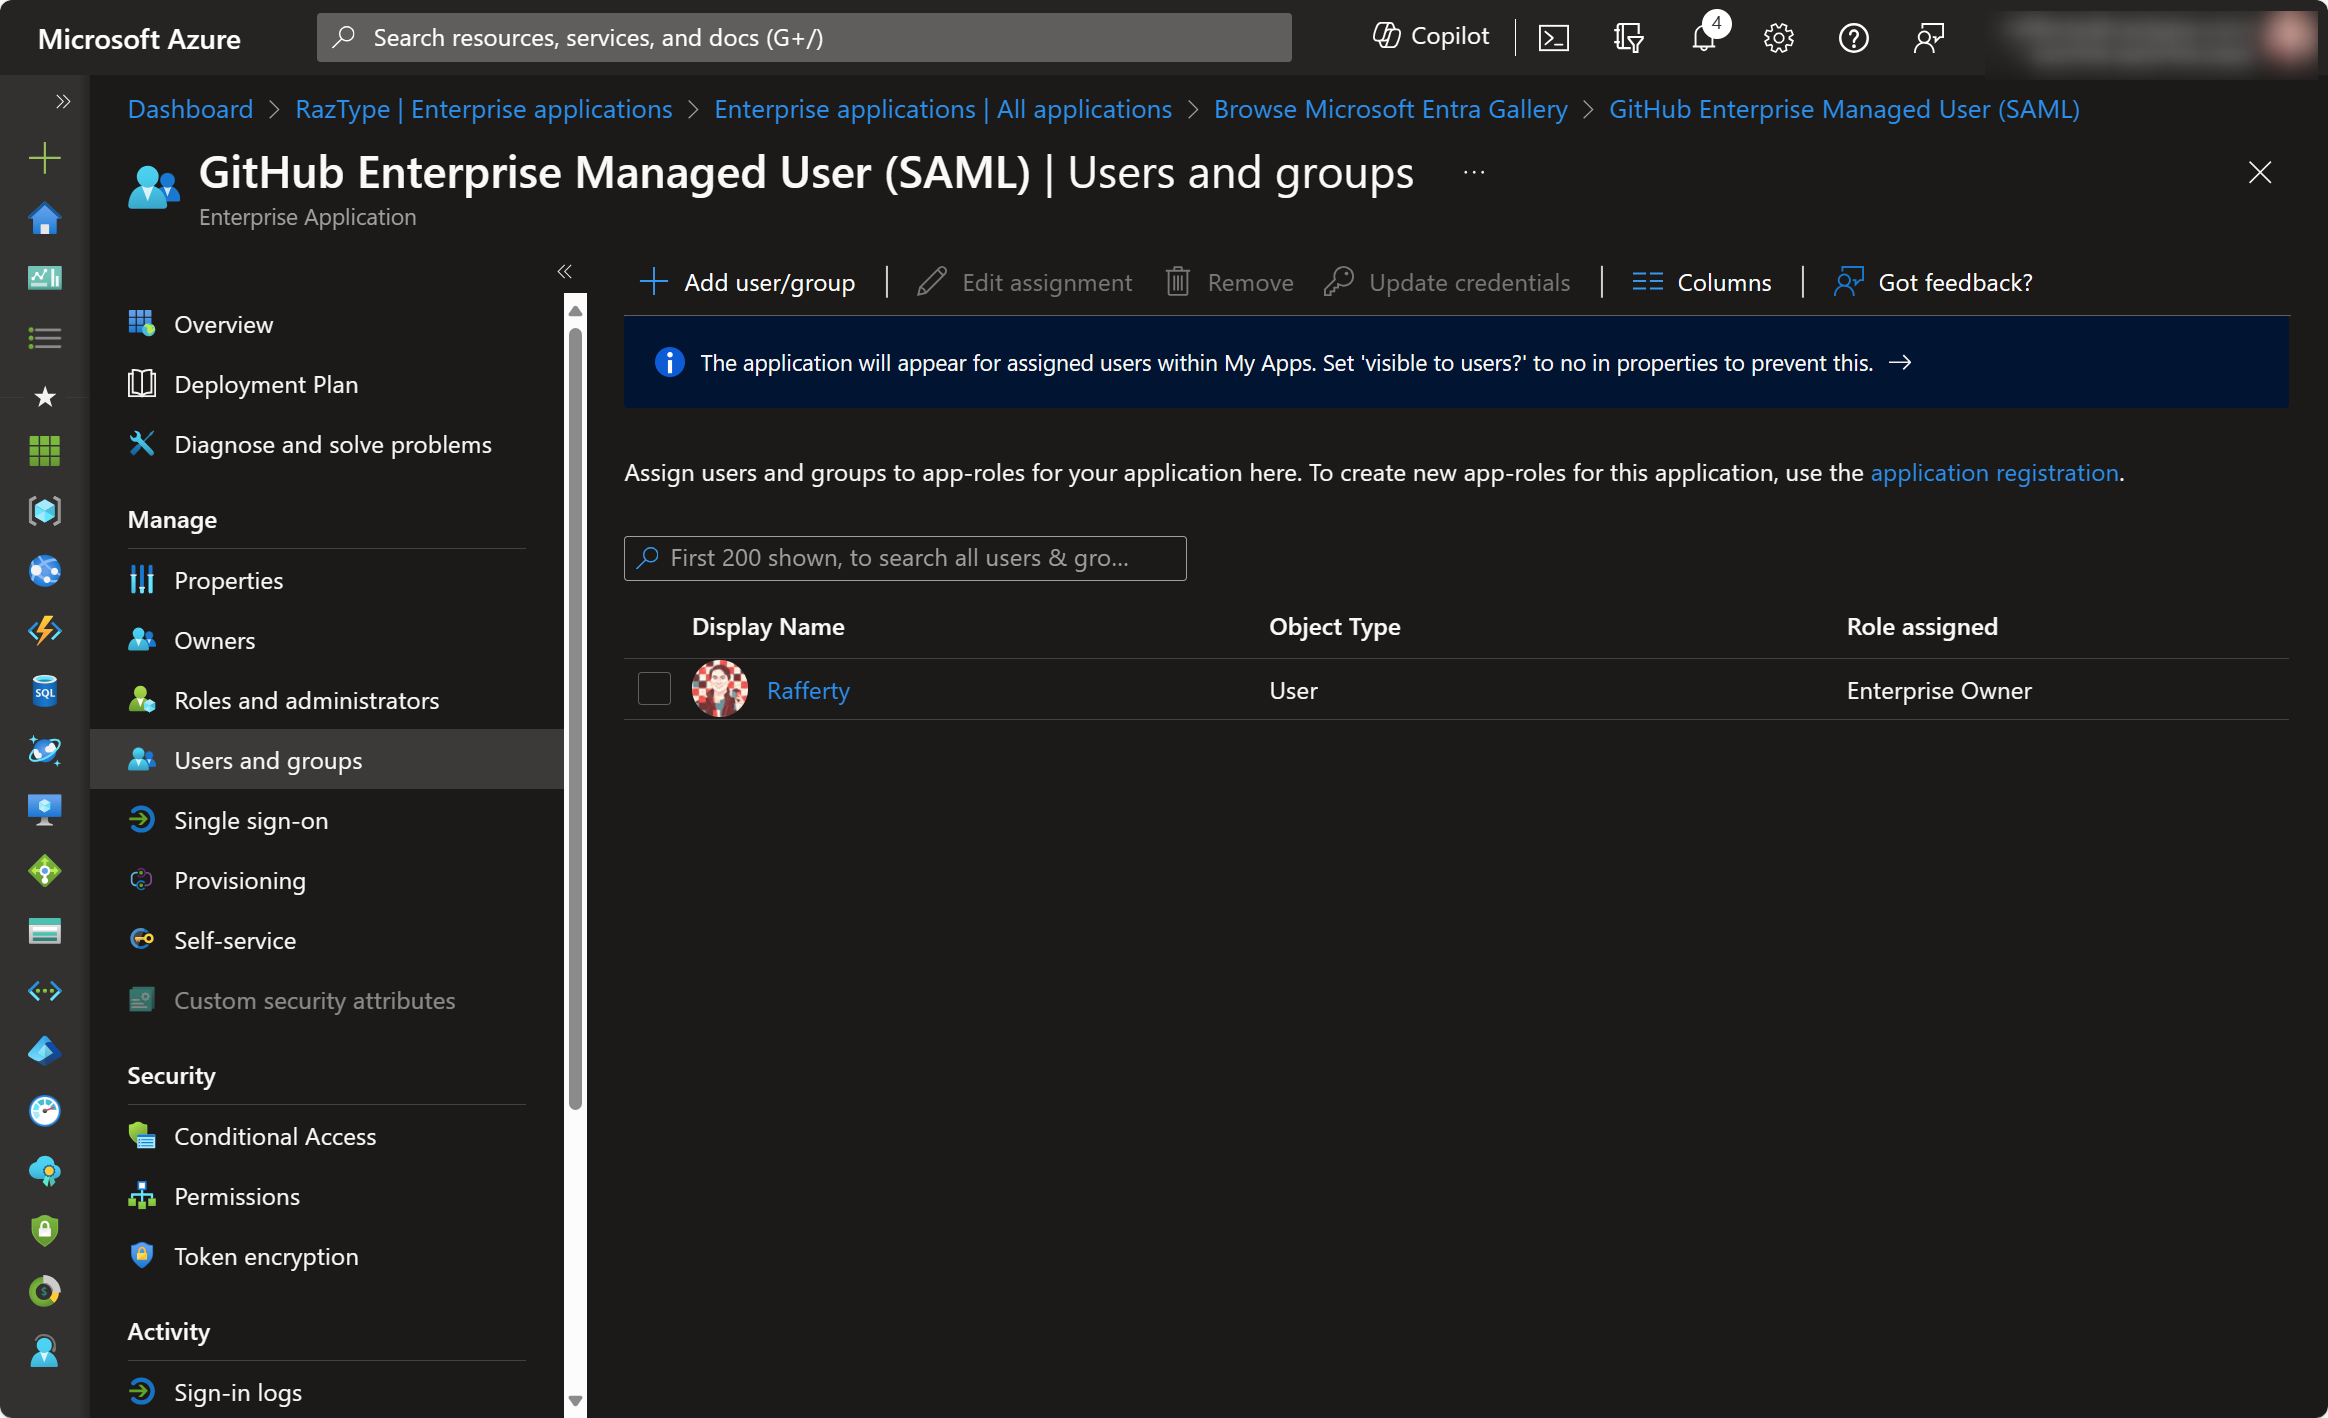
- Go to Users and Groups and Assign one or more GitHub Enterprise Owners. Make sure you know the credentials of at least one Enterprise Owner. (Tip: you may also start adding other users and groups with the User role here.)
- KEEP THIS WINDOW OPEN as you will still need it later.
Step 3: Enable GitHub Enterprise Managed User Single Sign-On (SSO)
- Go back to the browser window where you have the GHEC admin account logged in (in Step 1)
- Go to Settings → Authentication Security
- Check the Require SAML authentication box and enter the values as noted in Step 2.11 and 2.13.
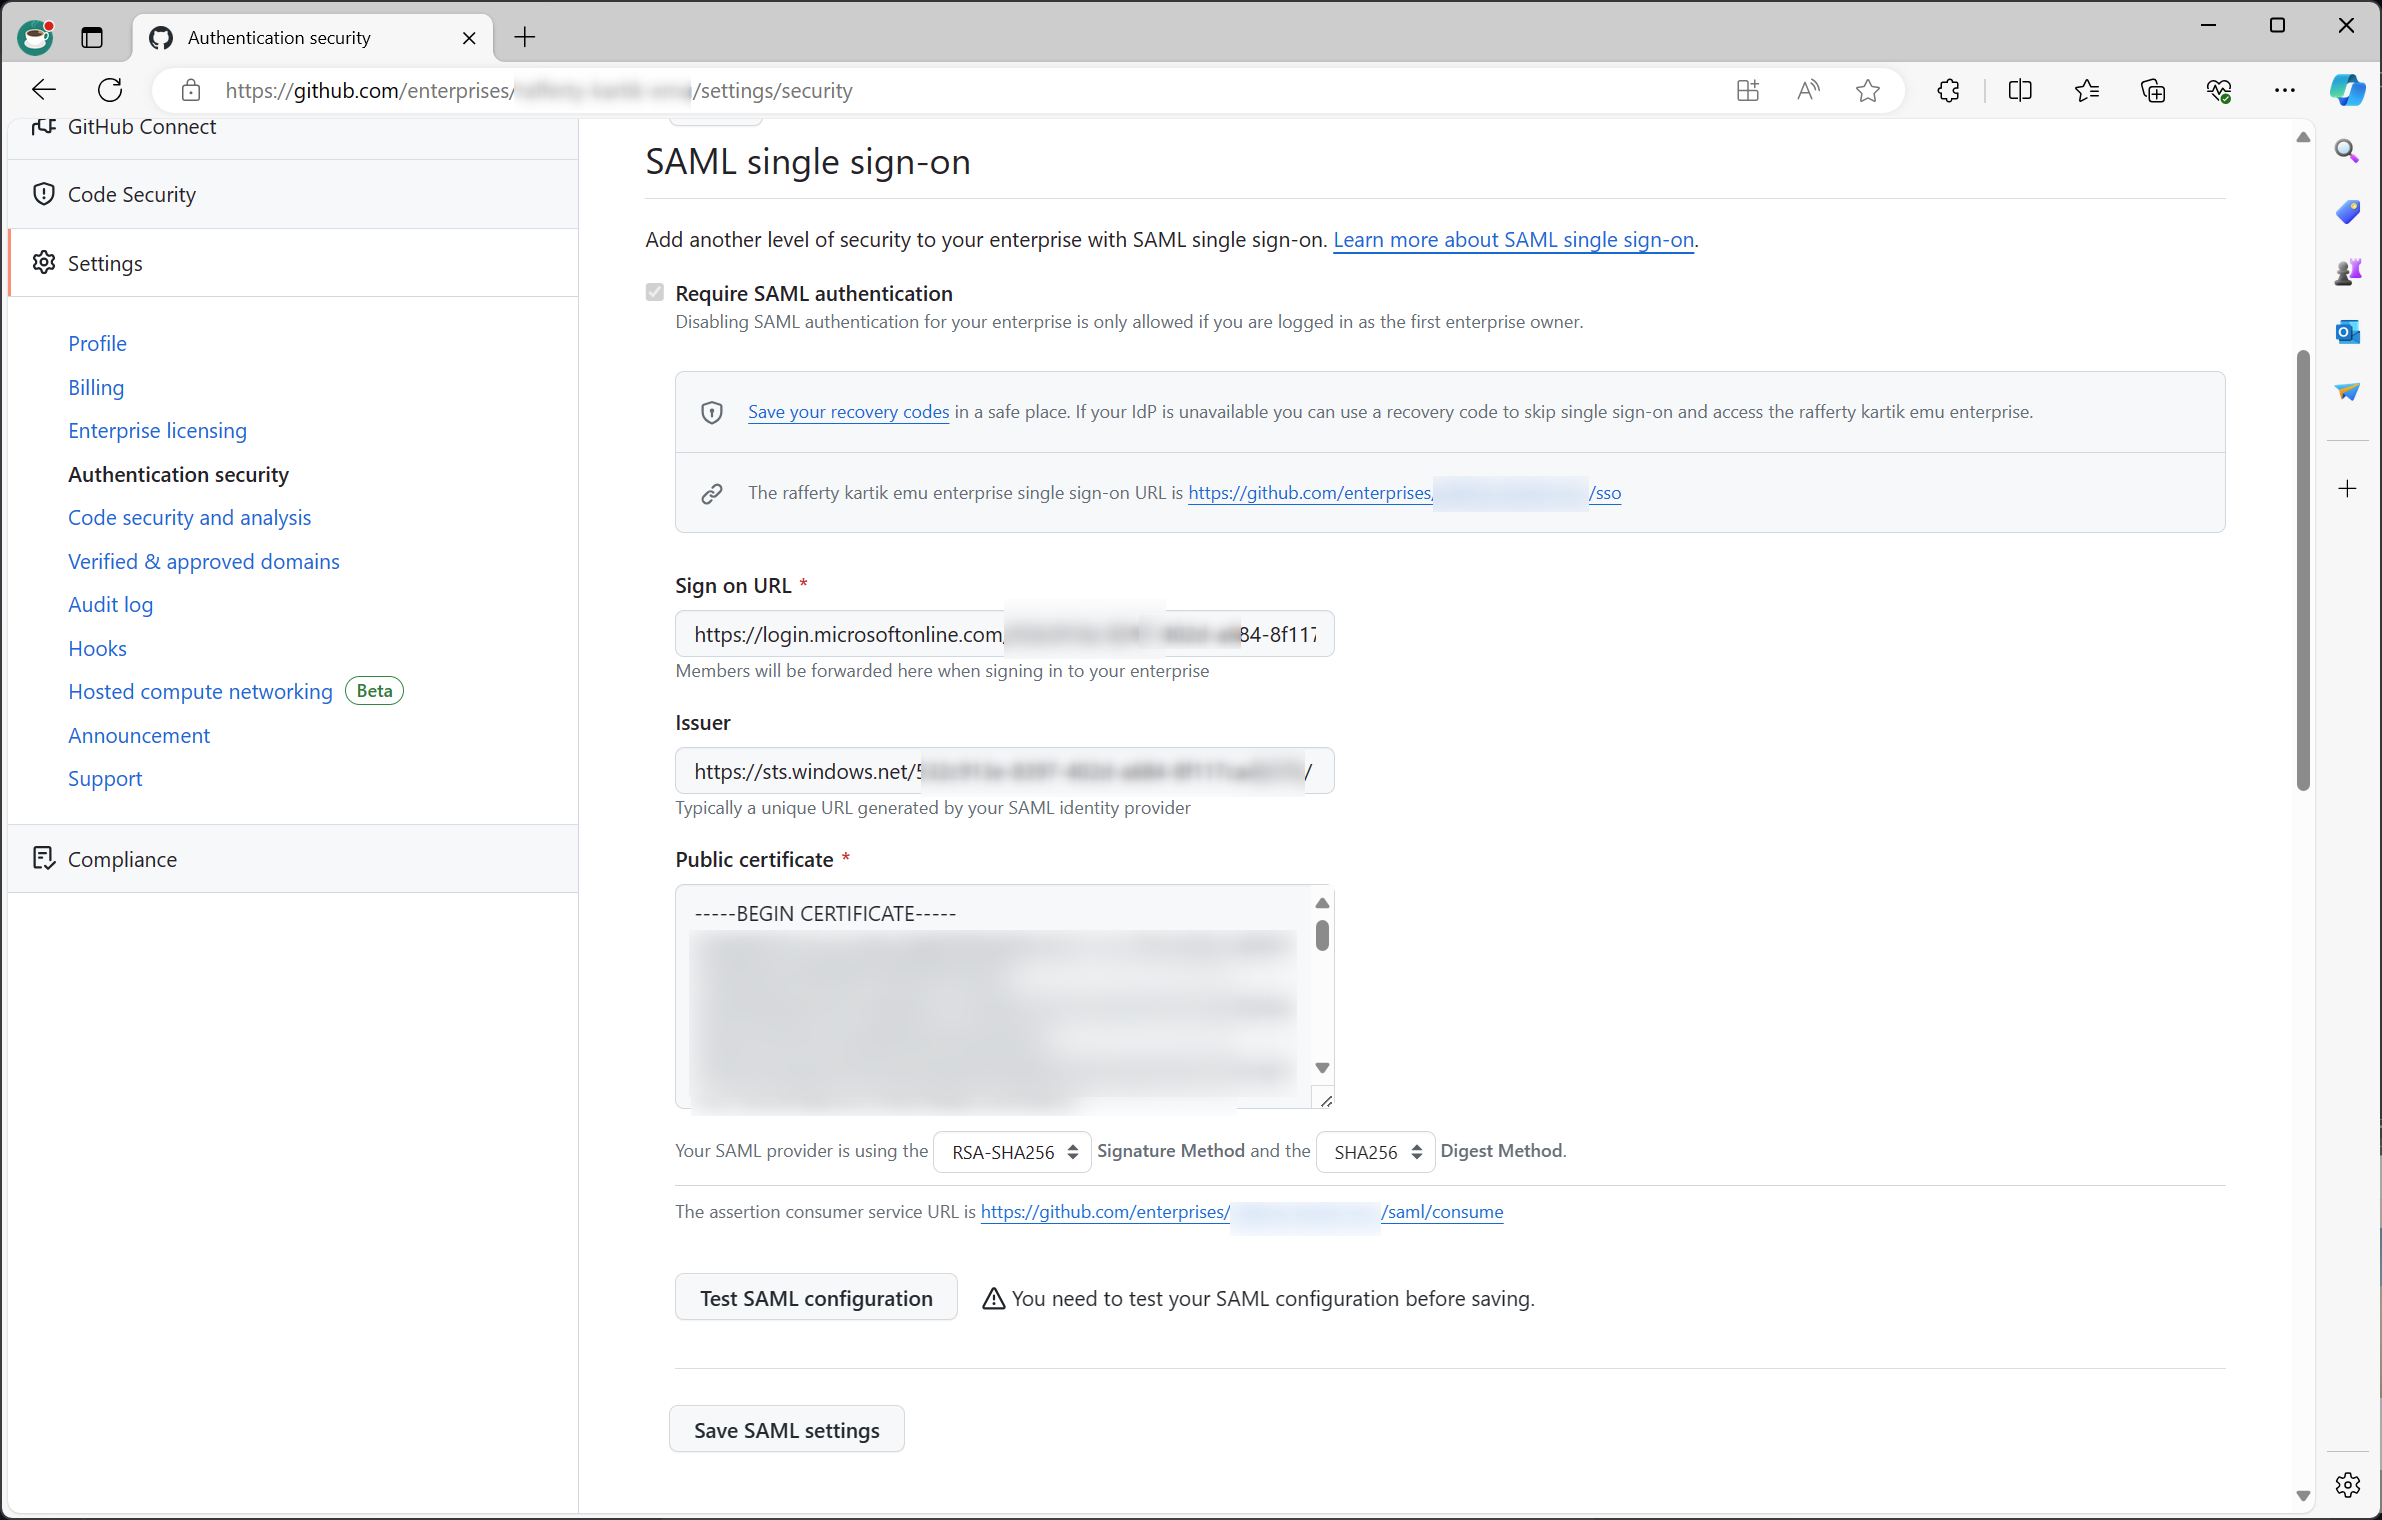
- Sign on URL =
Login URL - Issuer =
Microsoft Entra ID Identifier - Public certificate = {contents of the .pem certificate downloaded}
- Sign on URL =
- Click Test SAML configuration and log in with an Enterprise Owner account added in Step 2.14
- Click Save SAML settings
- Download the new set of Recovery Codes
- Enable SAML authentication and continue
- The result will look like this (and that’s ok!)
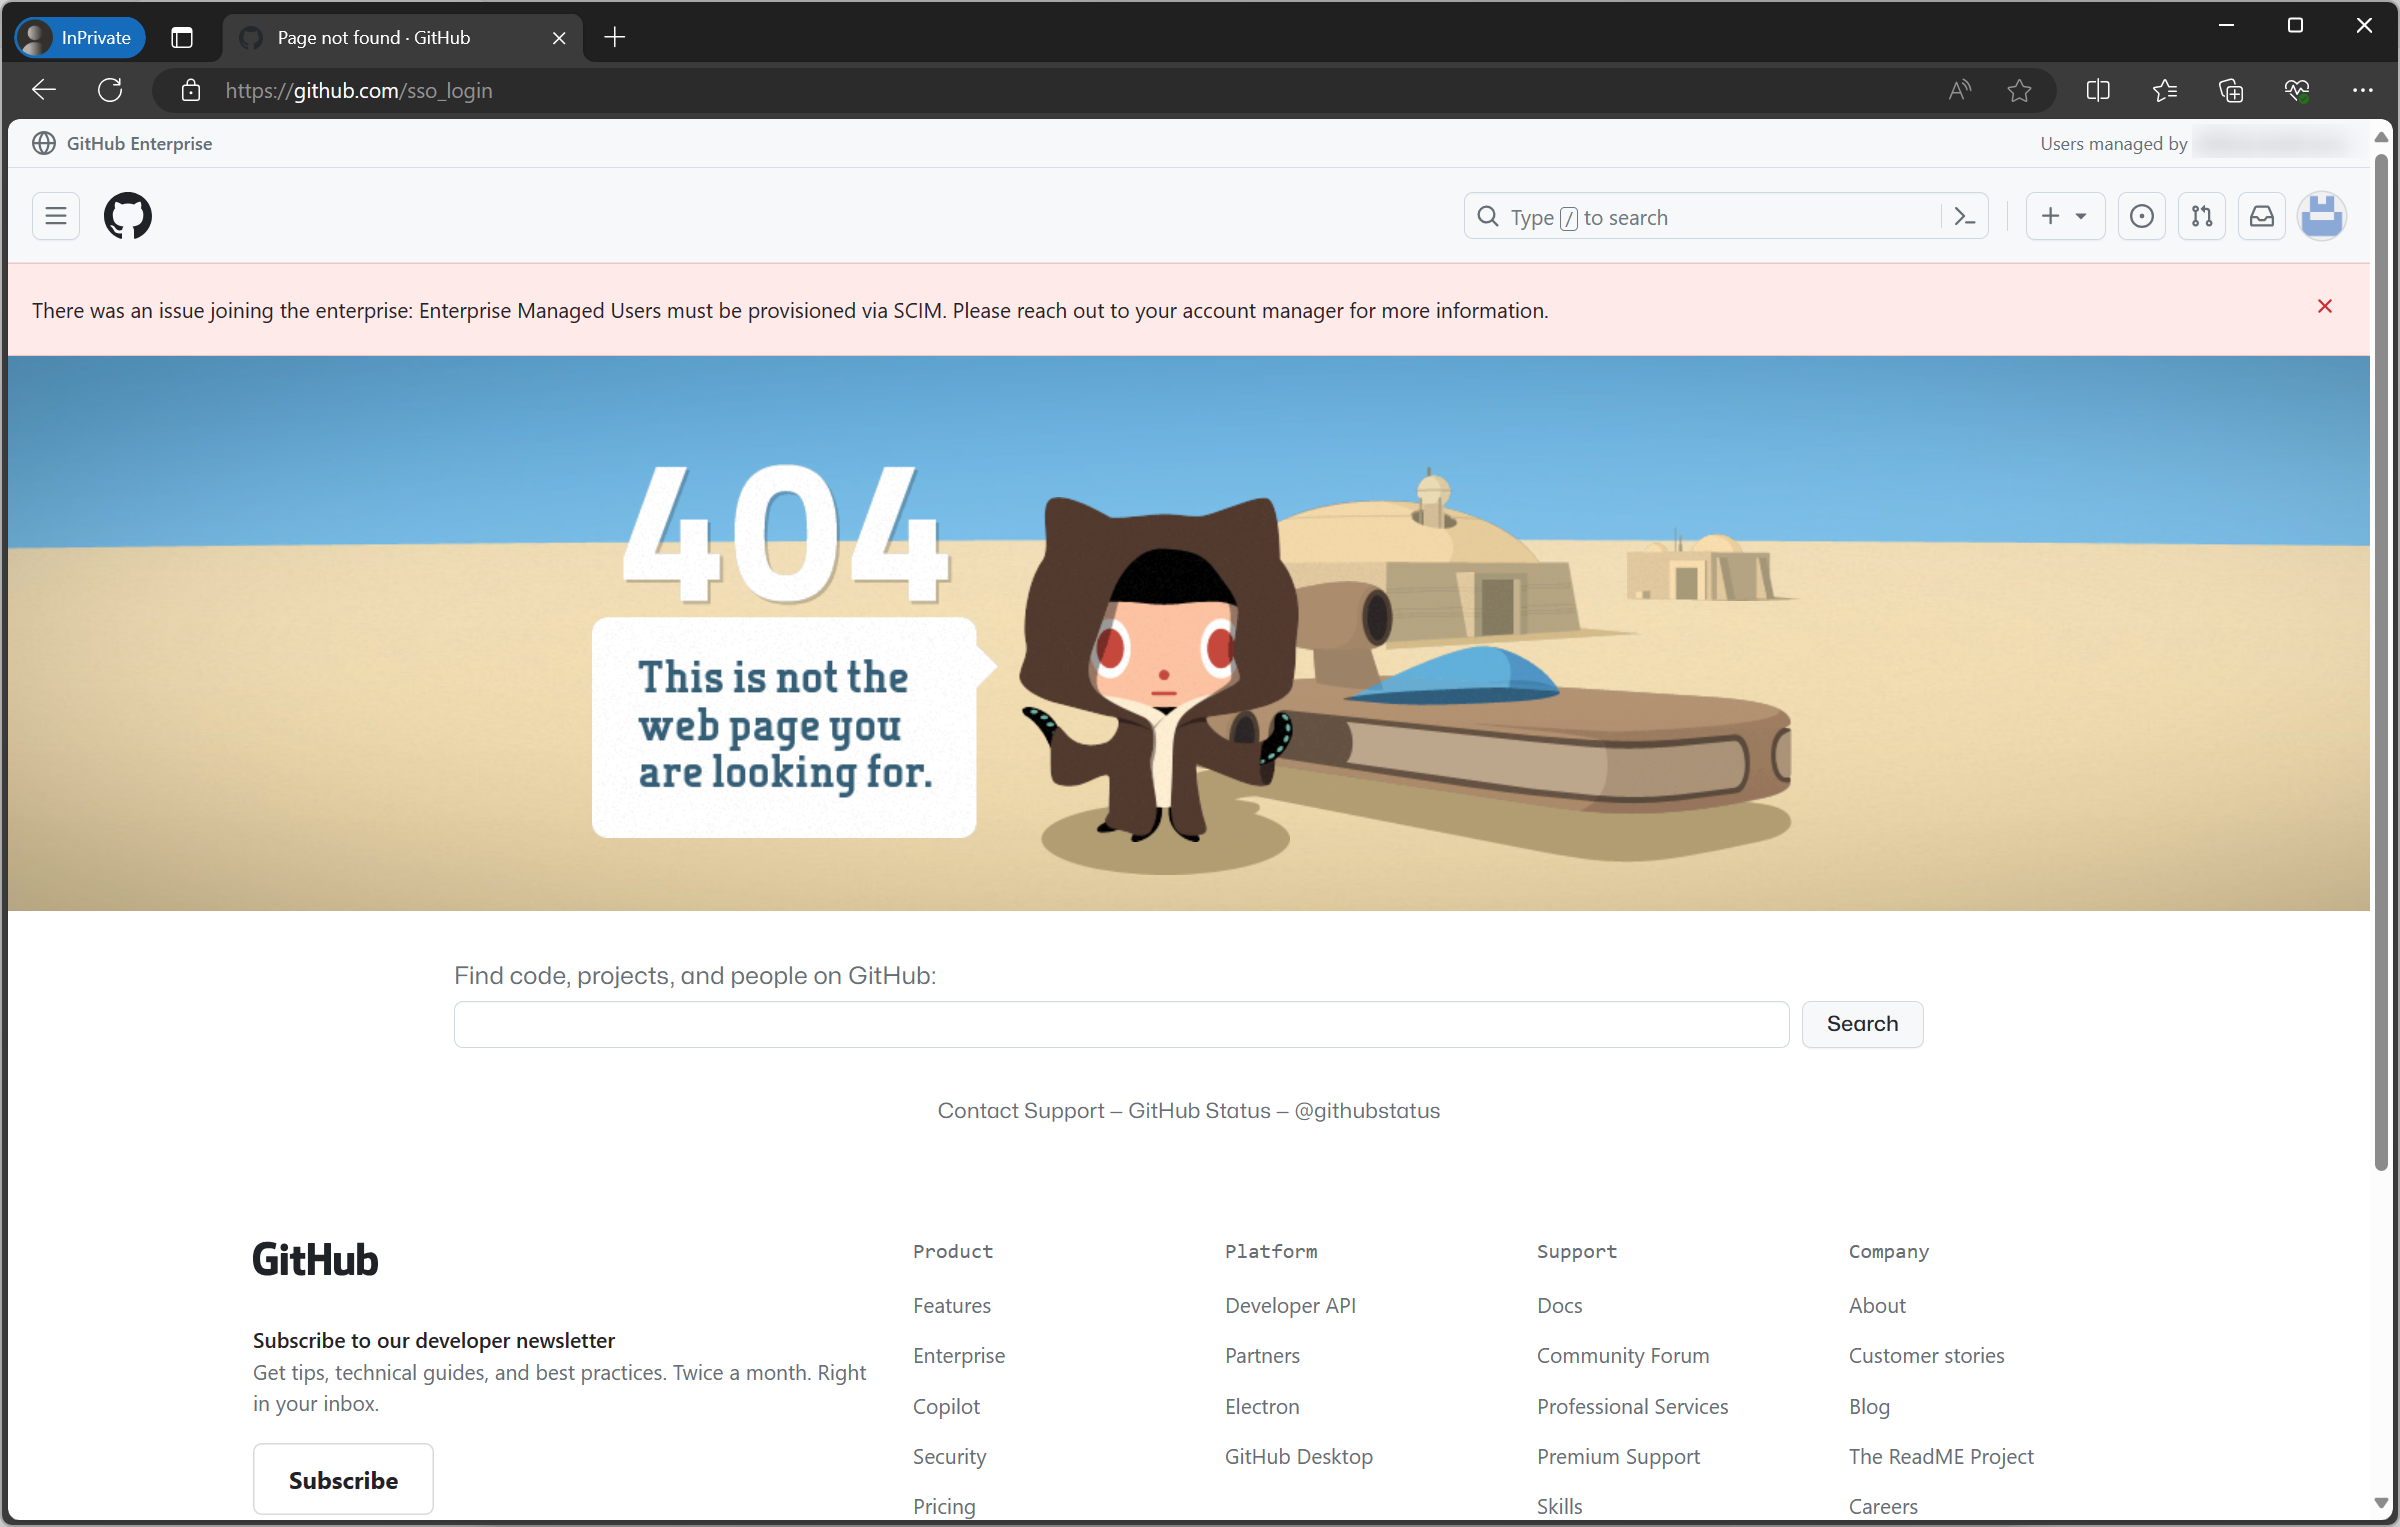
- You may now close this browser (that’s logged in as
{enterprise_shortcode}_admin)
Step 4: Configure Automatic User Provisioning
- Go back to the browser window where you have the Microsoft Entra ID Enterprise Application open (in Step 2)
- Select the “GitHub Enterprise Managed User” enterprise application that you just created
- Go to Provisioning → Provisioning
- Set Provisioning Mode =
Automatic - In Admin Credentials, enter
- Tenant URL:
https://api.github.com/scim/v2/enterprises/{enterprise_slug} - Secret Token:
{PAT from Step 1}
- Tenant URL:
- Test Connection
- Click Save
- In Mappings validate Provision Microsoft Entra ID Users

- Add missing mappings as needed

- In my case, it was missing
homeandother
- Expression:
Coalesce([mail], [userPrincipalName]) - Target attribute:
{as above}- Click Save
- Add missing mappings as needed
- In Mappings validate Provision Microsoft Entra ID Groups
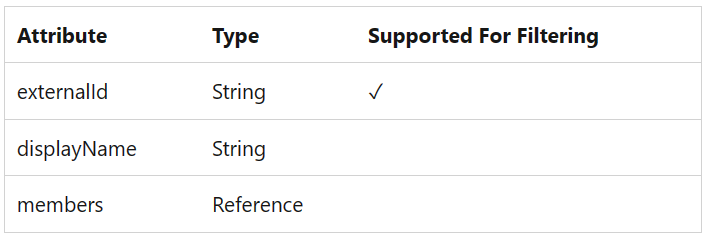
- Add missing mappings as needed

- In my case, it wasn’t missing anything.
- Add missing mappings as needed
- After saving everything, go back to Provisioning → Provisioning and set Provisioning Status =
On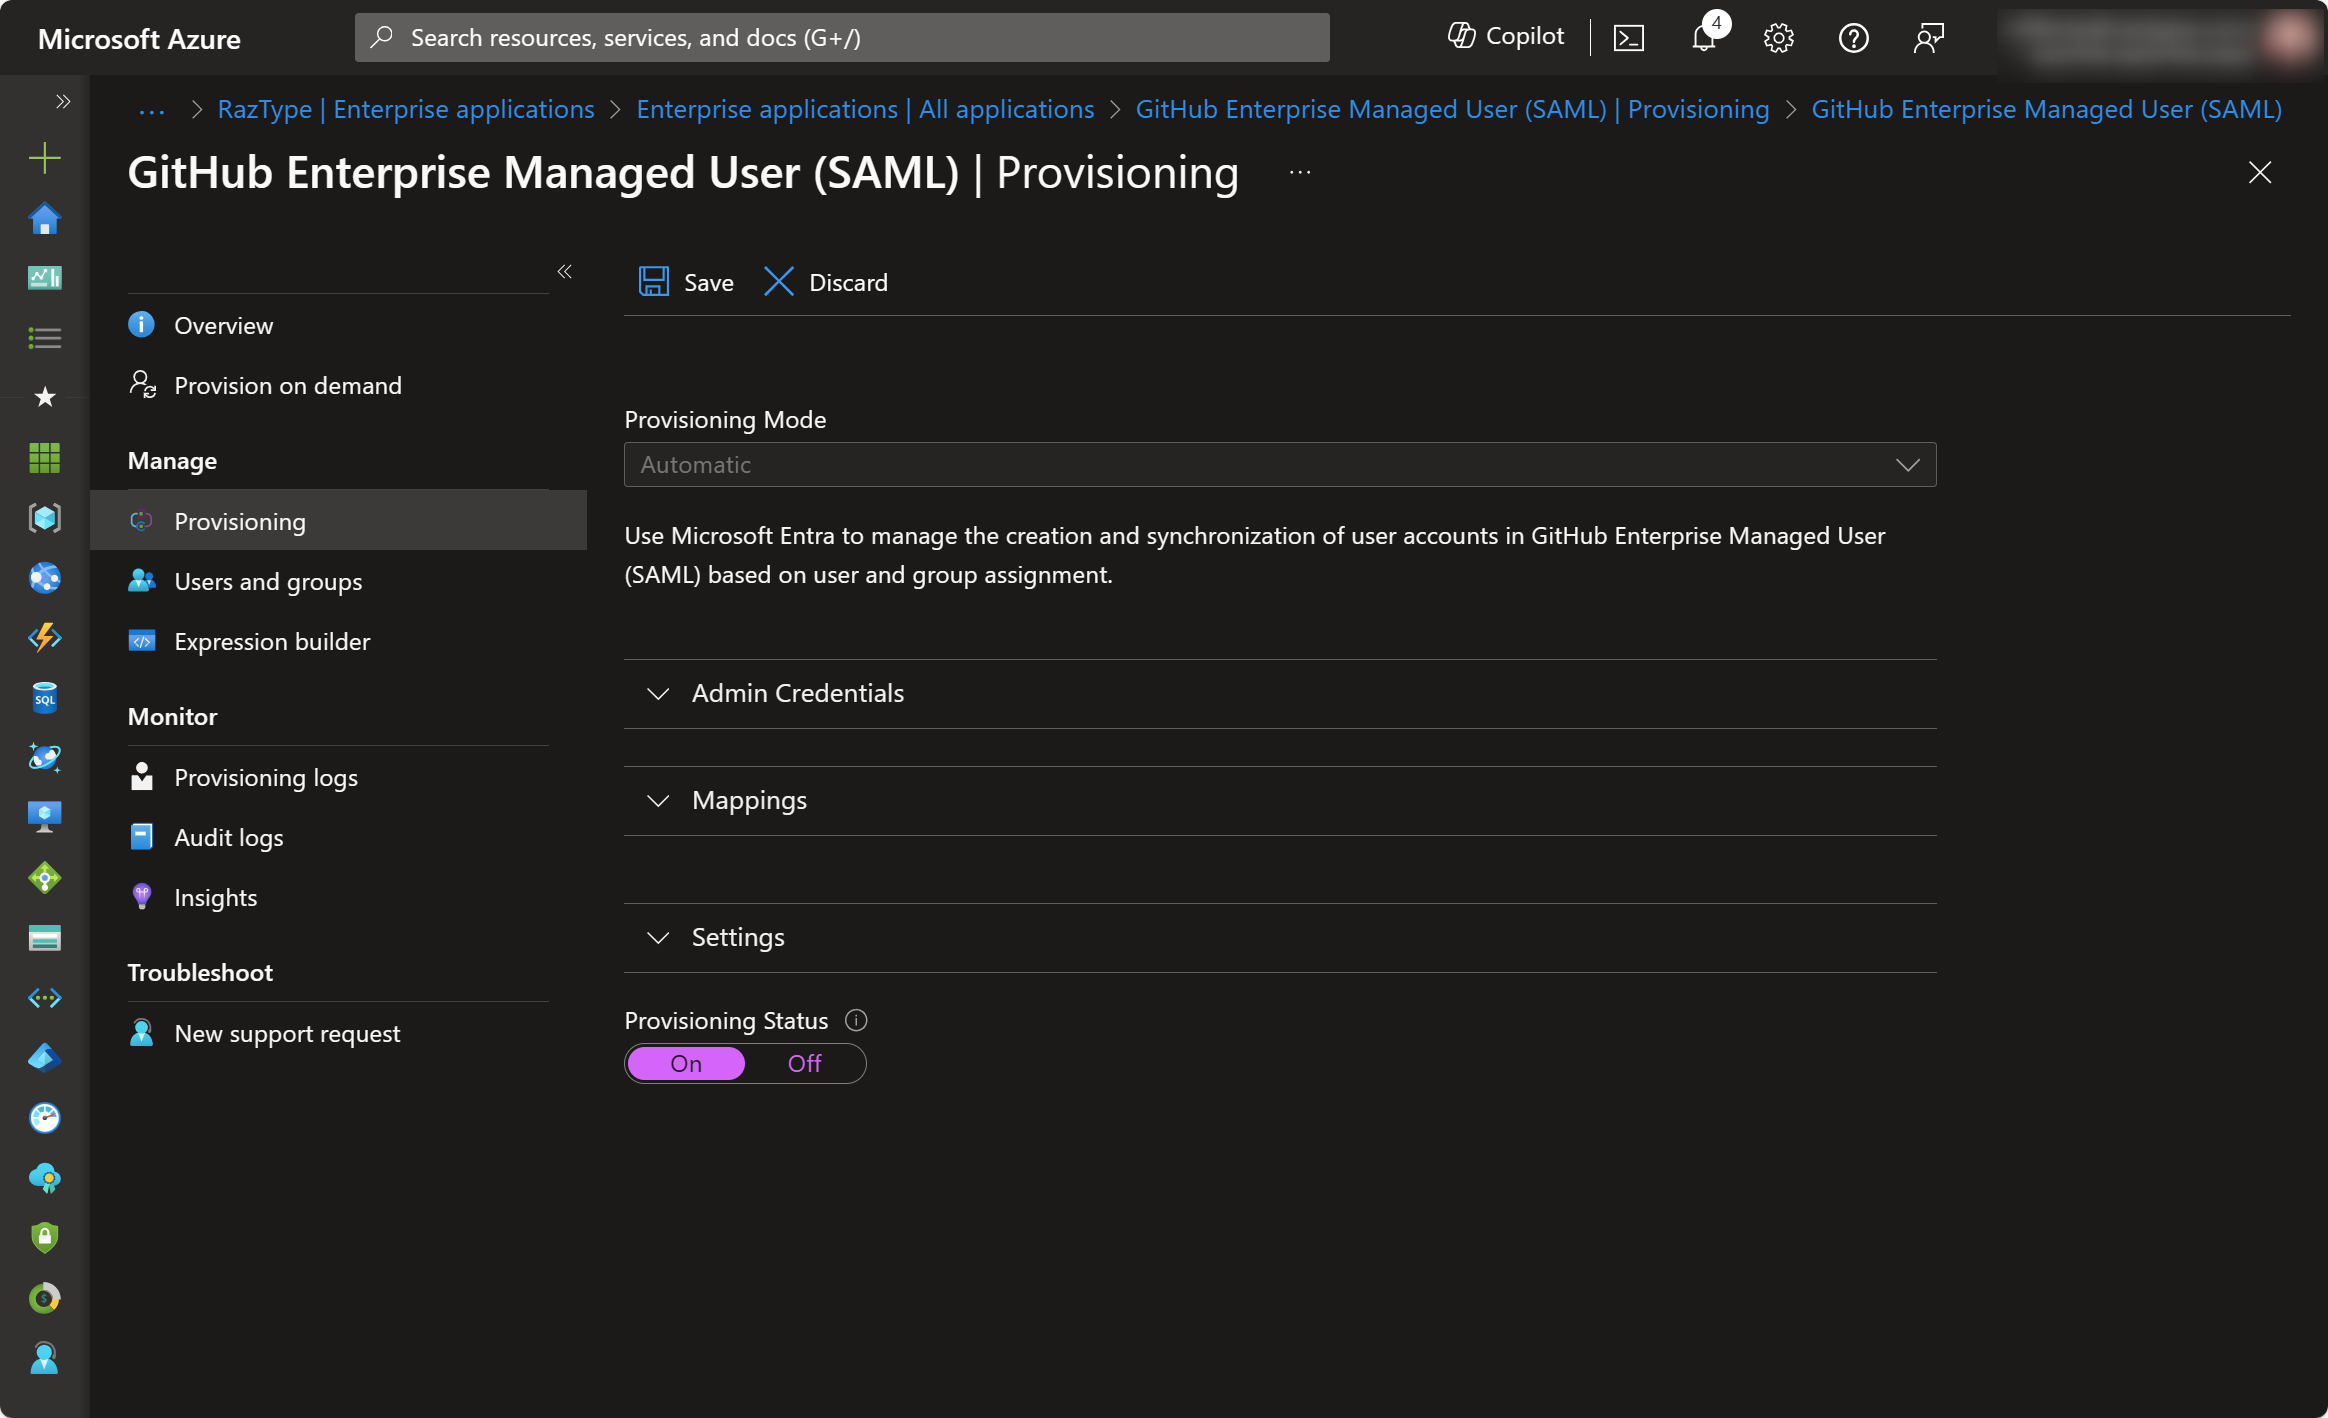
- Check Settings and define the Scope of users to be provisioned as needed (i.e. only assigned users or all users)
- Click Save
- Go to Overview and Start Provisioning

Automatic user provisioning is now configured. This job runs every 40 minutes. If you can’t wait, you can manually provision for specific users and groups using the Provision on demand option.
Step 5: Validate SAML Configuration
- Open a new browser and go to
https://github.com/enterprises/{enterprise_slug} - In the log-in screen, Sign in as normal by clicking the Continue button
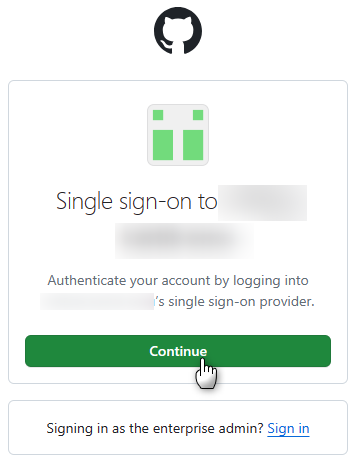
- If you are unable to log in, something went wrong. Review the previous steps and try again.
- After logging in, you should see your username in the format of
{entra_id_username}_{enterprise_shortcode}in the top right corner
Congratulations! You have successfully configured your GitHub Enterprise Cloud EMU for MS Entra ID (SAML)! Head to the directory if you need to do more, like set-up Azure Billing.